Recommended workflow
Start with project location and building classification, then define storeys, nett floor areas, orientations, fenestration areas and performance values. Run glazing percentage first, then weighted U-value and SHGC checks.
Put the checks together in the same order you would use on a real project.
By the end of this lesson you should be able to run a clean first-pass fenestration assessment and know what to adjust when it fails.
Start with project location and building classification, then define storeys, nett floor areas, orientations, fenestration areas and performance values. Run glazing percentage first, then weighted U-value and SHGC checks.
Do not guess. Identify the failing group and adjust one variable at a time: reduce glazed area, improve glazing performance, add compliant external shading, change frame/glazing specification, or revisit the design route with a competent person.
A useful compliance report should show assumptions, storey areas, orientation groups, product values and the pass/fail result. Keep drawings and supplier data aligned with the numbers used in the calculator.
Use the report as a checking document, not just an output. Review every assumption before sending it to a client or authority.
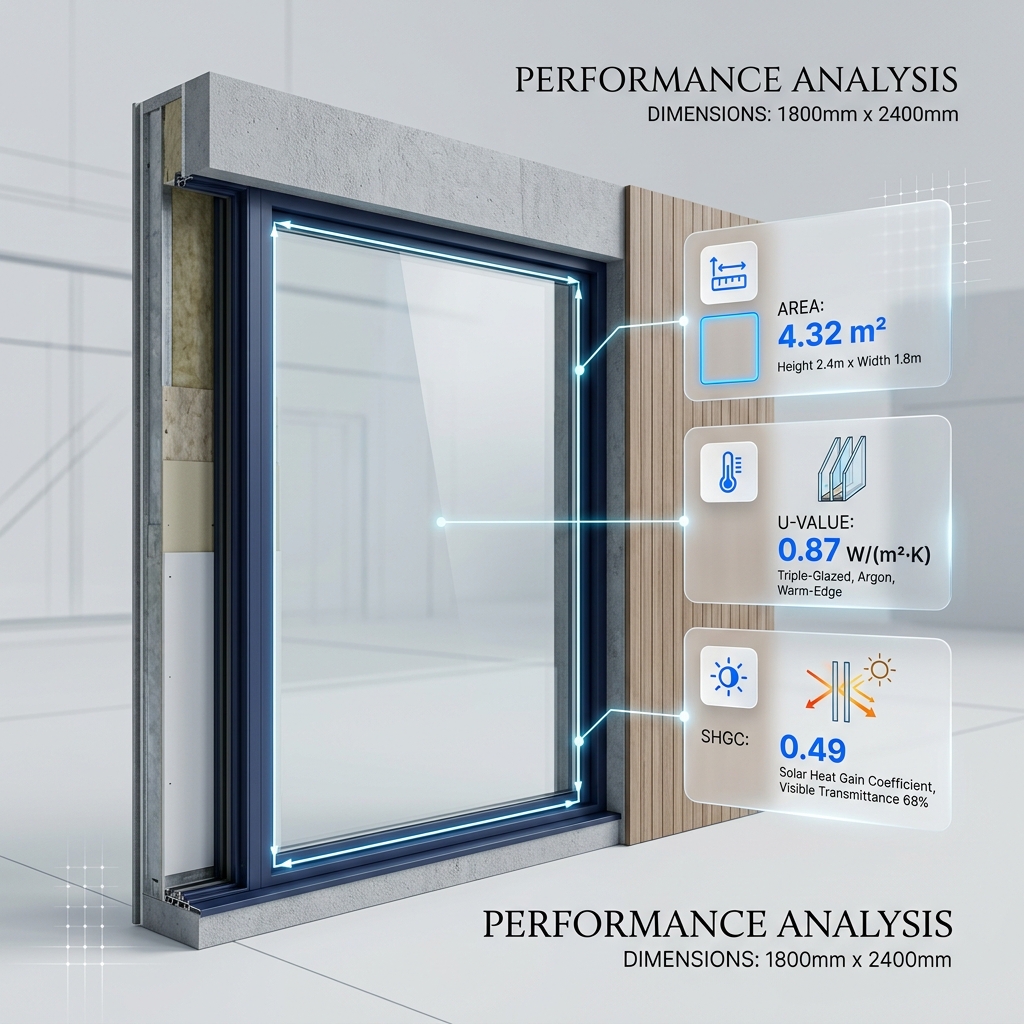
A single storey has 52 m2 nett floor area and three glazed elements: 1.8 m2 at U 2.8 / SHGC 0.32, 5.0 m2 at U 2.2 / SHGC 0.25, and 1.1 m2 at U 3.0 / SHGC 0.35.
Enter each glazed element with its area, orientation, U-value and SHGC. Use the result cards to check glazing percentage and weighted performance.
The important decision is not only whether the numbers pass, but whether every value can be traced to drawings and supplier data.
Can every input be traced to a drawing, schedule or supplier value?
Create a one-storey sample project in the calculator.
Flag the missing evidence, use a conservative assumption where appropriate, and avoid claiming compliance until the information is confirmed.